Side Imaging Sonar at Longbranch Yates

Oct 11 2013

Phil Evans

Fry

Member Since :
2013
Number of Posts :
25

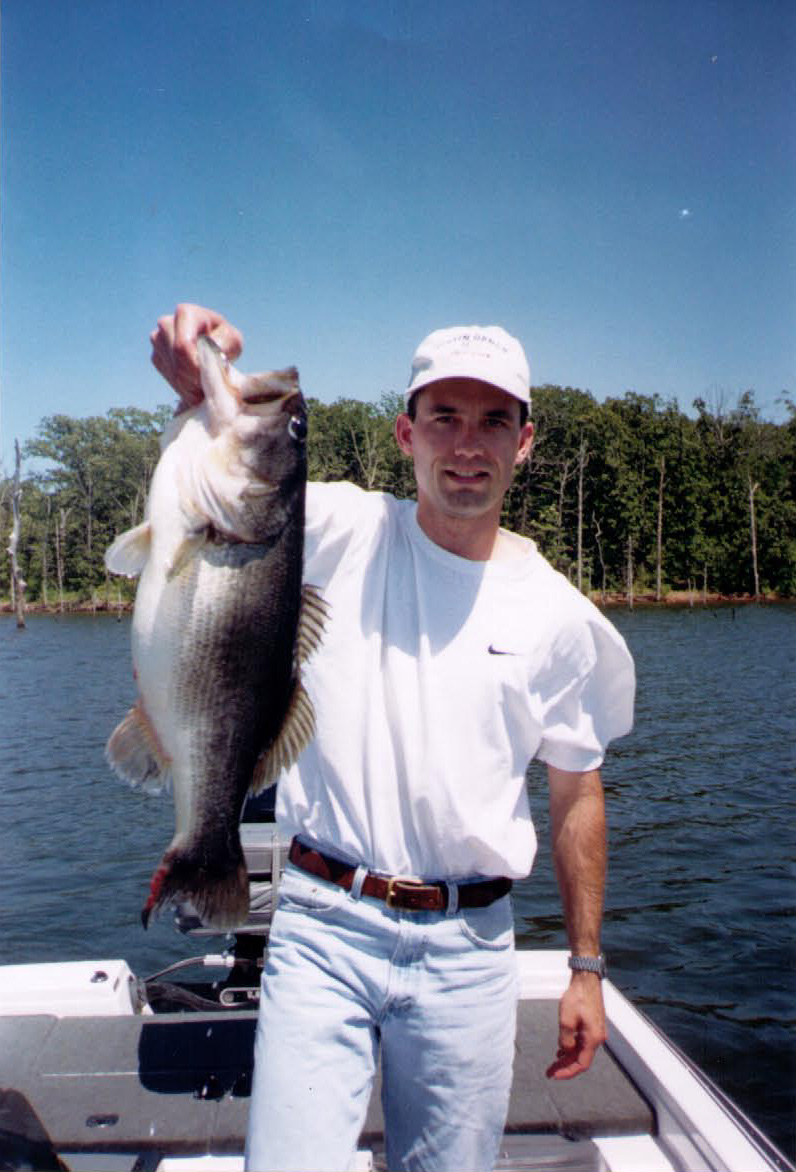
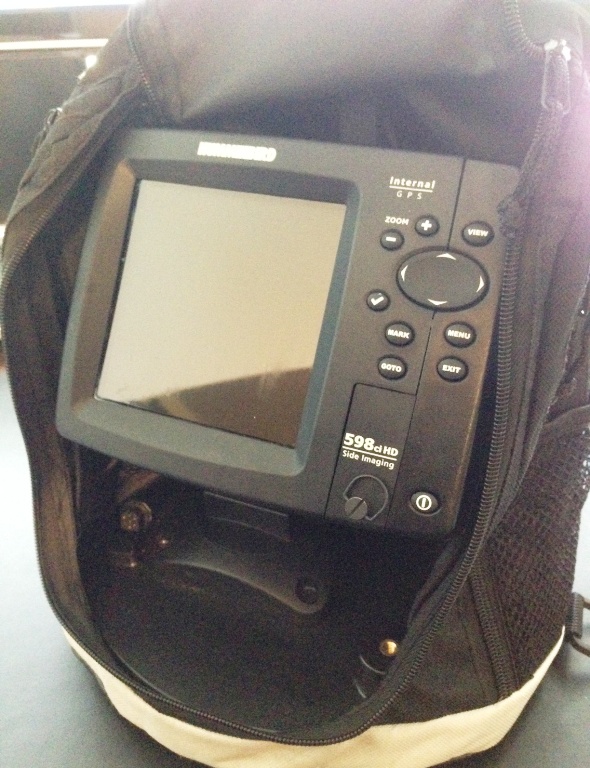
A few months ago I finally broke down and replaced my nearly 20 year old portable fish finder.  I chose a Humminbird 598ci with side imaging.  I am still learning the unit but initial results are very promising.

Yates Place was great because I was actually able to locate many of the structures in the photo book - the book in the cabin that shows the construction of the lake.

Photo 1- note two large log piles on the right.


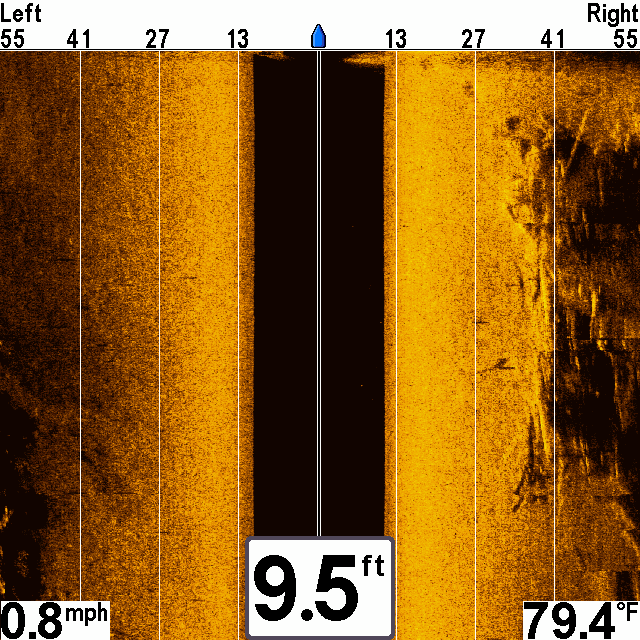
Photo 2- drop off and large log pile on the left


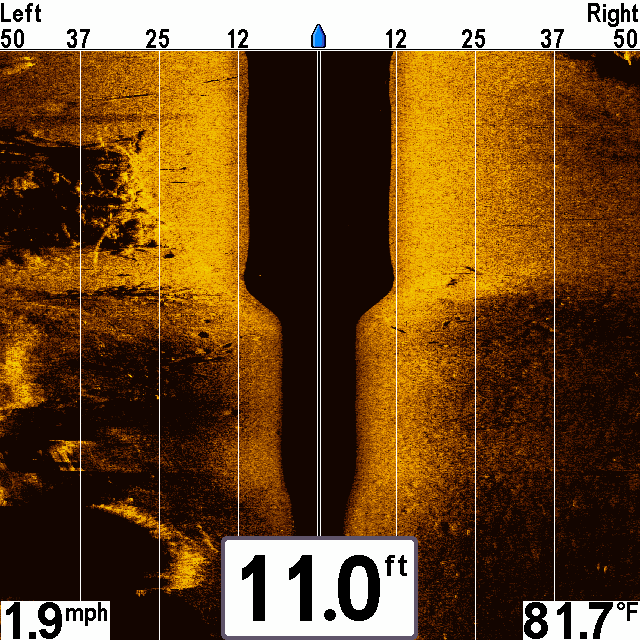
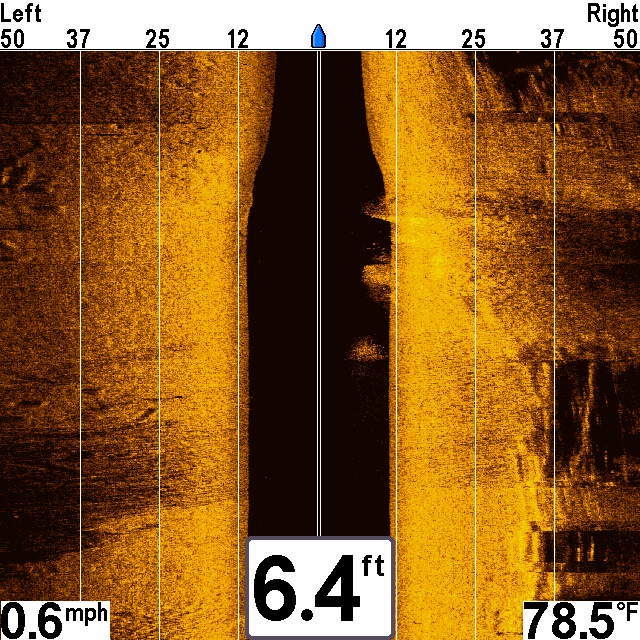
Photo 3- large groups of baitfish under the boat and - just maybe - the old buried van/truck in the lower right.

The great thing about side imaging is you can move the cursor and mark structure that is up to 150 feet away from the boat.  For example, you can mark all 4 corners of a log pile from 50 feet away on the GPS and return to within 2 feet of that spot at a later date.

Lakemaster, which is owned by Humminbird, is about to release a new product called AutoChart.  This product allows you to create your own 3d lake maps by recording readings from your depth finder.  You won’t have to study the depth finder in real time; once you have fished a lake you will have your own map with all the structure and contour marked.

I have my unit set up as a portable with the Humminbird portable bag and battery.  It is easy to move between boats.  I will be happy to share lake maps once that becomes available.

Posted By: Phil Evans

Oct 11 2013

Jon Frank

Slot Fish

Member Since :
2007
Number of Posts :
103

Thanks for sharing Phil, SI units are incredible.

Oct 11 2013

Jackson Bean

Slot Fish

Member Since :
2012
Number of Posts :
225

Great images Phil.  Expect the map generation software to improve your fishing as much as the side scan has.  I have the Lowrance version of what you are describing and have made about 10 maps now. Knowing where the underwater points and drop offs are lets you eliminate so much dead water and focus more on the structure and cover that we know to hold fish.  If you are interested I can show you a few things on how to get good maps from your first trip by first traversing all available shoreline, a “mow the lawn” type pattern with your tracking visible so you can see what you have covered, turning your auto depth feature off, etc.  You can also do a vegetation layer overlay as well as a bottom composition overlay to help you distinguish a rock pile from sunken brush.  These units are perfect for the type of fishing we do at PWF.

If you get some time, get on YouTube and watch some of the side scan videos for your particular unit.  Being able to tell a fish from a rock is tough at first but once you learn how to interpret the shadows of what you are seeing, the side imaging becomes really valuable at finding fish.

Tight lines,

Jackson

Oct 11 2013

Phil Evans

Fry

Member Since :
2013
Number of Posts :
25

Jackson- Are you using Dr Depth software?  As I understand that was the precursor to AutoChart.  (Lakemaster purchased Dr Depth and retooled it to create AutoChart.)  Currently I don’t think either are available.  AutoChart is scheduled to release this fall.  I will work on learning the unit in the meantime.  I can’t say that I’ve relied on it to catch fish yet, but like you said the potential to make a day of fishing much more productive is great.

Oct 11 2013

Jackson Bean

Slot Fish

Member Since :
2012
Number of Posts :
225

Hey Phil,
You know how Lowrance and Humminbird are always trying to one up each other?  It is the old Ford vs. Chevy debate in the marine electronics world.  Navico is the parent company to Lowrance, B&G and SIMRAD, and they happen to be half a step ahead on this particular item.  It is called Insight Genesis.  Insight is their stock map that comes on a Lowrance unit when you buy it and Genesis is a subscription you can buy in which you can generate your own maps through recording your broadband sonar and your down scan images (if you are equipped with down scan). I’m sure AutoChart will be along the same lines and all of it is really cool stuff.

Oct 11 2013

Steve Alexander

Keeper

Member Since :
2010
Number of Posts :
415

Phil/Jackson,

You guys are both going to El Salto. Just think of all the stimulating side imaging and electronics talk you will be able to have!!

Oct 11 2013

Phil Evans

Fry

Member Since :
2013
Number of Posts :
25

Philip- I bought the Humminbird turnkey kit, part is “PTC U”.  I found the best prices at The Digital Oasis.  It comes with a mount, 12v alarm battery, charger, and carry bag.  Most importantly, there is a short transducer extension cable that allows you to plug in the transducer at the front of the portable bag.  Most transducers like my old portable 128 were wired to the unit which required you to dismount the transducer from the trolling motor each time - just another 5-10 minutes each trip before you can start fishing.  Now I leave the transducer mounted to my TM and just unplug it from the portable bag.

The other way to do it, which I think would work great, is to make your own portable kit.  You can find examples of this online as many kayak folks do it.  Usually it involves and pelican waterproof box for the battery, which is drilled with grommets for for the wires.  The mounting bracket is bolted to the top of pelican box.  You can buy the same transducer extension cable by calling Humminbird.  The battery can be obtained at Home Depot in the electric gates area; buy a charger (by Battery Tender) online.  You are going to come very close to the $100 though for the portable kit, but you may fashion something you like better.

The good thing about the portable kit is you get a 2nd mount, so you can put one mount permanently in your own boat and use the portable when fishing out of other boats.  This works better than having a bag sitting on your deck at your feet.  You need a 2nd short transducer cable for your permanent install.

Bottom line:  all you need to make it portable is the battery, transducer extension cable, and a surface on which to mount your bracket.  For the transducer mounting, I use the Transducer Shield and Saver mount, hose clamps on the trolling motor, and zip ties up the shaft.  I’ve thought of using zip ties around the motor for temporary installs, but the side imaging transducers are huge, resulting in very little clearance from the trolling motor prop.  I upgraded my transducer - which in hindsight was not needed - and actually had to notch my trolling motor to make it fit.  At Longbranch I had only about a cm of clearance for the prop, so I took the time to hose clamp to make sure it did not move.

Oct 11 2013

Phil Evans

Fry

Member Since :
2013
Number of Posts :
25

Also Philip… you need a trolling motor mount if you are buying a new unit - they come with a transom mount.  You can see if Hbird will exchange it (if unopened) - that is how I upgraded my transducer.  But for TM mount the Hbird version is basically a hose clamp.  I decided to spiral wrap the transducer cable.  It has already saved me once from crushing the cable in the TM bracket.

Oct 11 2013

Jon Frank

Slot Fish

Member Since :
2007
Number of Posts :
103

Phil you ought to start a business setting this up for members. That is a slick setup there my friend. NICE